Mastering Large Format Film Photography: Loading, Exposing, and Developing Tips
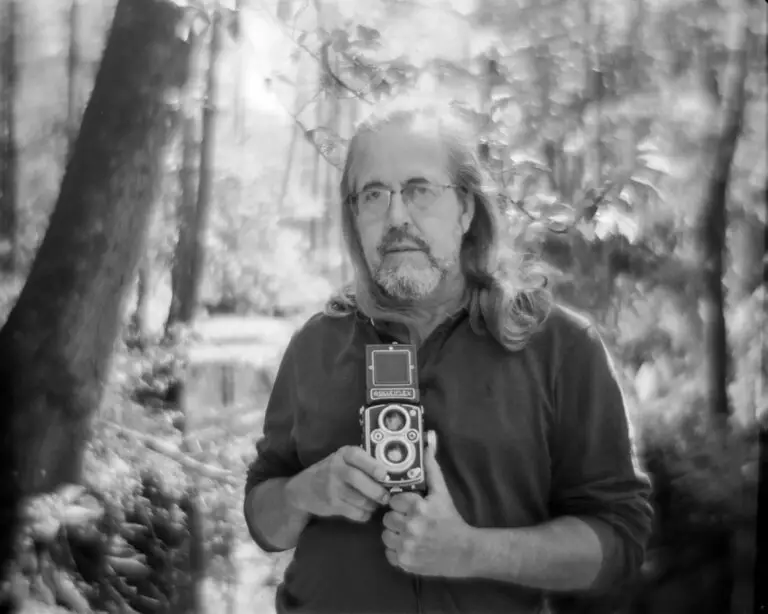
In a world where digital pixels increasingly dominate, large format film photography stands as a testament to the craft’s origins and enduring allure. The process of capturing images on large sheets of film, often associated with the “old masters” of photography, is not merely a historical footnote but instead a vibrant and living medium that continues to attract new practitioners and seasoned experts alike. In this comprehensive guide, we explore the fundamental techniques that filmpersons, both amateur and professional, can master to wield large format film photography as a tool for their creative expression.
Understanding Large Format Film Photography
What is Large Format?
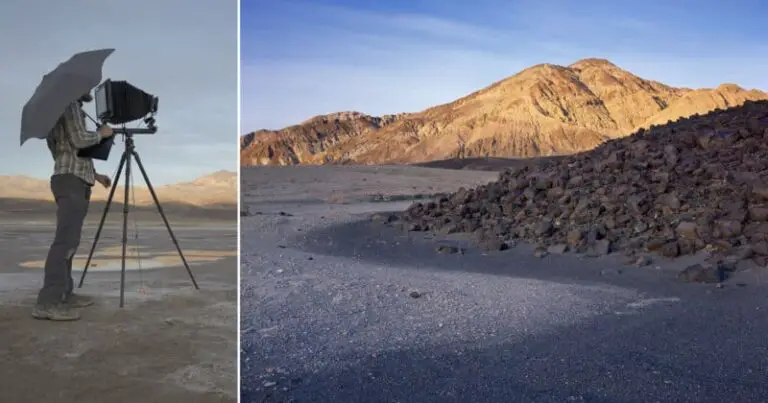
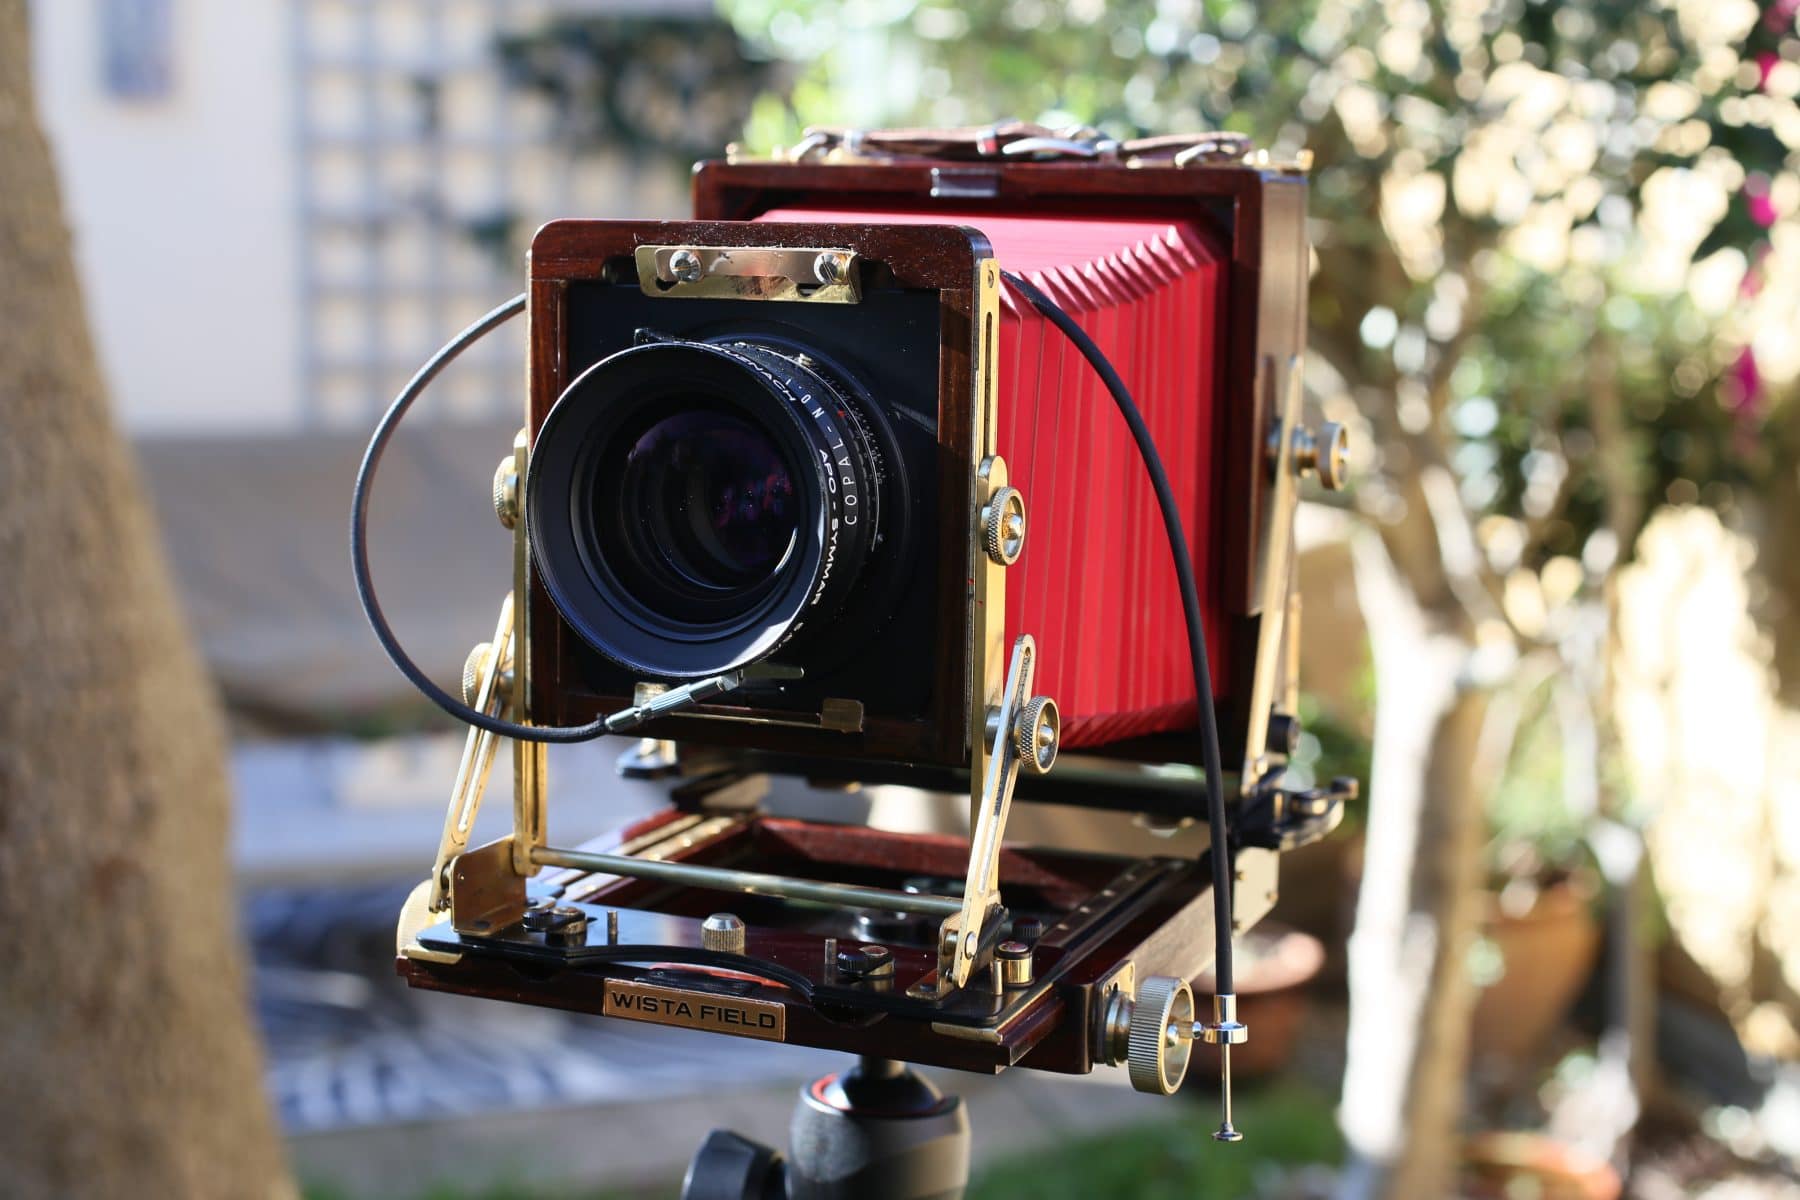
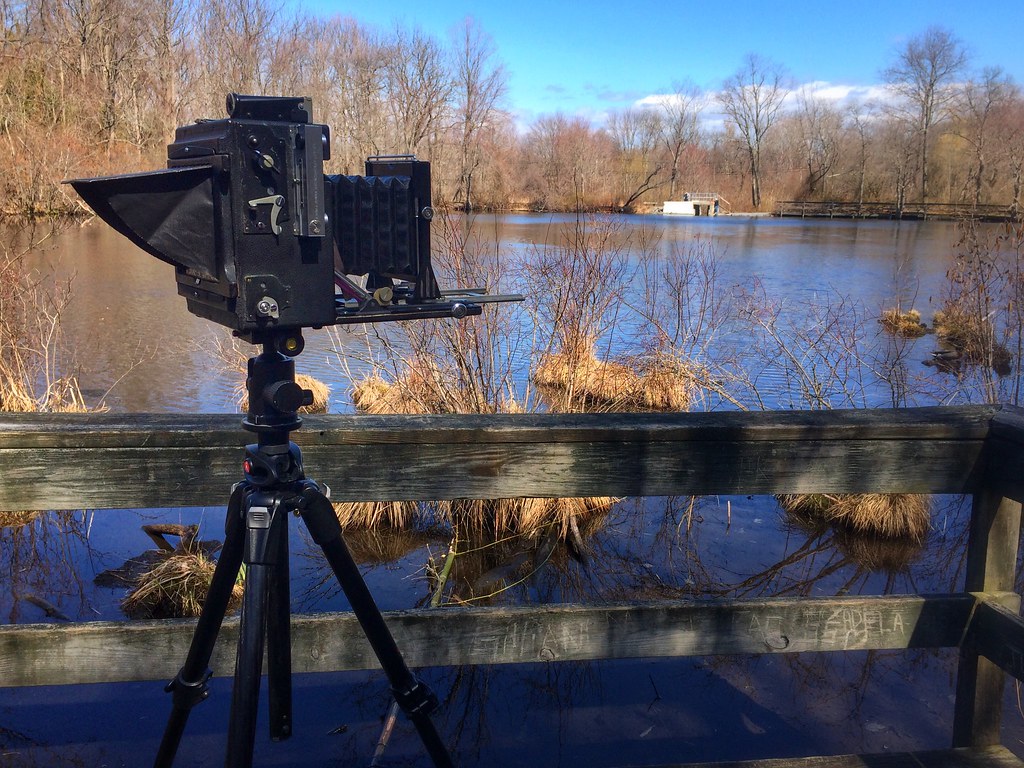
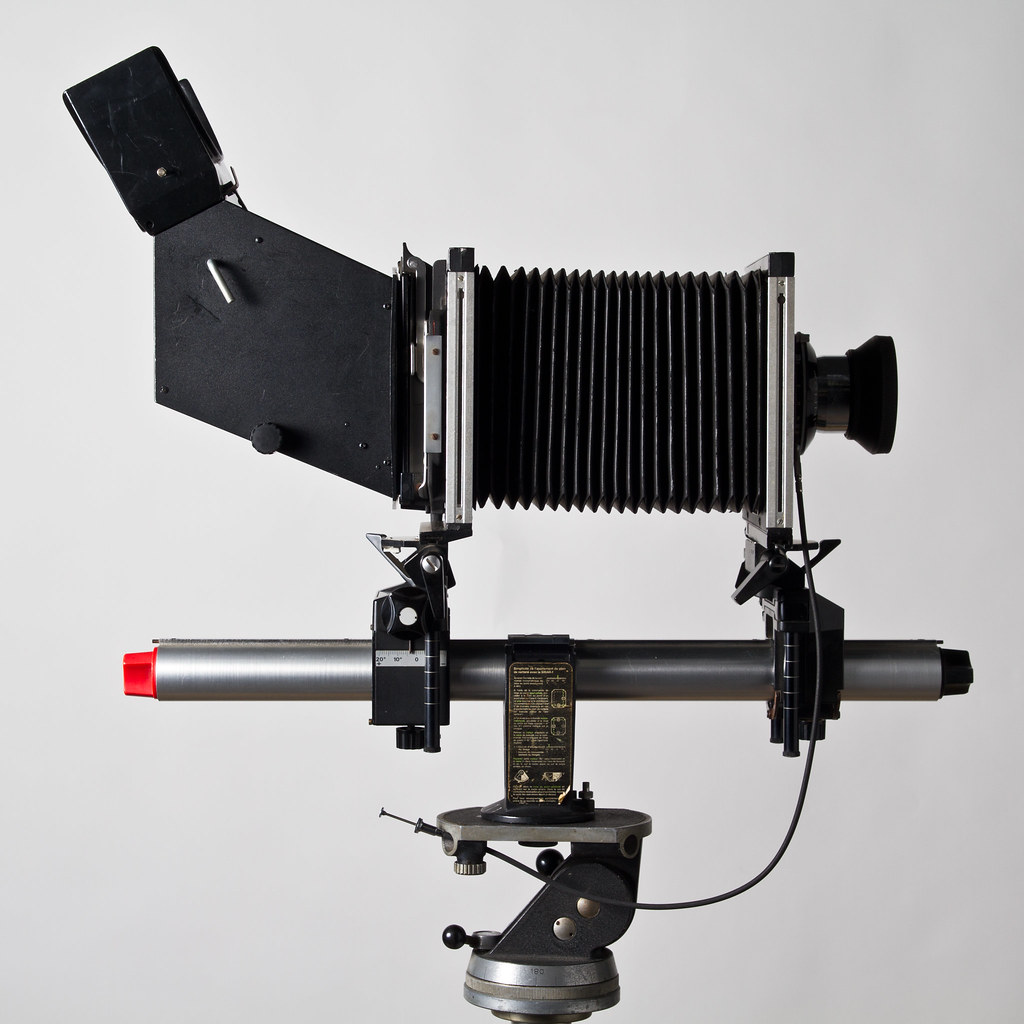
Large format photography refers to the use of film that is at least 4×5 inches, typically housed in a view camera. This format’s defining characteristic is the size of the film, allowing for incredibly high-resolution images that retain sharpness and detail even when significantly enlarged. The process is deliberate, thoughtful, and often involves the use of a sturdy tripod to support the weight and bulk of the equipment.
The Benefits of Large Format
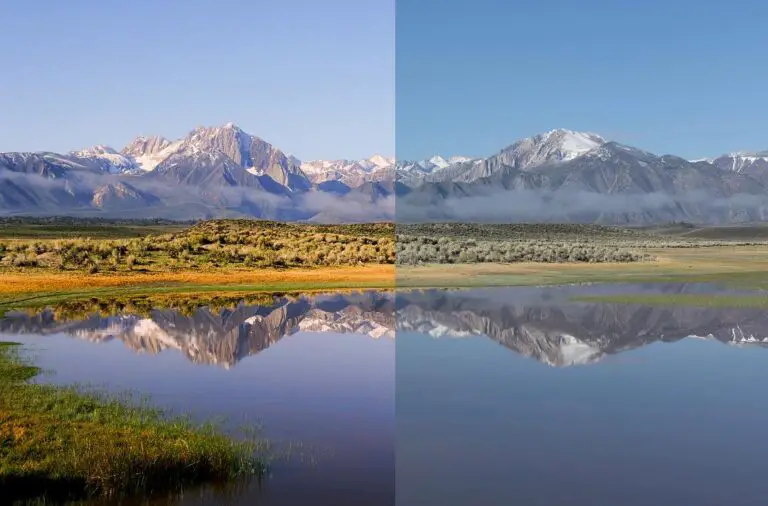
The large format invites a methodical and contemplative approach to photography. With little room for spontaneity, each exposure is carefully considered, often resulting in a higher standard of composition and exposure. The large film size also offers unmatched resolution and tonal range, which translates to images that can be enlarged to mural sizes without loss of quality.
Loading Film Correctly
One of the most critical steps in large format photography is loading the film into the camera. This process is more involved than with 35mm or even medium format film, but with practice, it becomes second nature.
A Step-by-Step Guide
- Preparation is Key: Begin by working in a clean, dust-free environment. Have your large-format film holders at the ready and ensure that the dark slides are in place.
- Removing the Film from the Box: In the dark or under a changing bag, carefully remove the film from its light-tight packaging and any protective sleeves.
- Understanding the Notch: Most large format films have a notch that indicates the film emulsion (the light-sensitive side of the film).
- Alignment in the Holder: Place the film in the holder with the emulsion side facing the lens and the notch in a predetermined corner for easy identification in the field.
- Sliding the Dark Slide: Once the film is in the holder, slide the dark slide back into position to make it light-tight.
Tips to Avoid Common Mistakes
- Practice Makes Perfect: Load and unload film holders in your camera bag or in a darkened room until it becomes a seamless process.
- Label Everything: Use labels or markers to indicate the film type and expiration date on the film holder, making it easier to work quickly and confidently in the field.
- Backups are a Must: Always have extra loaded holders with you; large format film is too valuable to risk fumbling with film in high-stress shooting situations.
Mastering Exposure
Exposure is the delicate balance of shutter speed, aperture, and film sensitivity. In large format photography, where every detail is critical, achieving the perfect exposure is paramount.
The Zone System
Developed by Ansel Adams and Fred Archer, the Zone System is a method for producing optimal exposure and development in photography. It divides exposure into ten zones, with Zone V representing middle gray.
Achieving the Right Exposure
- Use a light meter to measure the light illuminating your subject.
- Understand the reciprocity failure of your film – the need to adjust exposure times for long or short amounts.
- Bracket your exposures by taking the shot at the measured exposure, then one or more shots under and over to ensure a proper and varied exposure.
Field Techniques
- Shield the lens from stray light with a dark cloth for accurate focusing and composition.
- Use a spot meter or the camera’s bellows factor to take readings in specific areas of your scene for precise exposure control.
- Be prepared to adjust for any light changes that occur while setting up the shot by taking additional meter readings as you go.
Developing Techniques
Once the film has been exposed, the next critical step is developing the negative. Developing transforms the latent image into a permanent one and can greatly affect the final print’s contrast and tonality.
The Basic Development Process
- Developer: The chemical that initiates the transformation of the exposed silver halide crystals into metallic silver.
- Stop Bath: A weak acetic acid solution that halts the development process.
- Fixer: Removes unexposed silver halide crystals, leaving only the developed image.
- Wash: Removes residual chemicals that could degrade the negative over time.
Tips for Developing at Home
- Maintain Consistent Temperatures: Small fluctuations in the developer’s temperature can significantly impact development times and, consequently, the negative’s density and contrast.
- Time and Agitation: Stick to the timing and agitation schedule recommended for your developer. Agitate for the first 30 seconds, then 5-8 inversions every 30 seconds.
- Proper Ventilation: Use chemicals in a well-ventilated area and wear protective gloves and eyewear.
Preserving and Showcasing Your Work
Your photographic work is not truly finished until it is shared or preserved. Large format photography’s emphasis on quality extends to careful handling and presentation of the final images.
Negatives and Storage
- Never touch the large format negatives directly. Use cotton gloves to prevent leaving fingerprints and smudges.
- Ideally, store negatives in archival-quality sleeves or negative storage pages to protect them from scratches and dust.
Displaying Your Prints
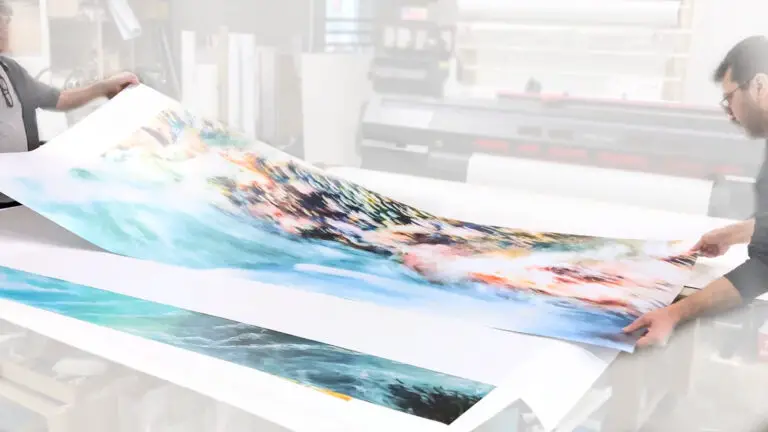
- When framing large format prints, use archival materials and UV-protective glass to ensure the longevity of the print.
- Explore gallery wraps or face-mounting to acrylic as contemporary ways to showcase your large format prints.
Sharing Online
- Scan large format negatives at a high resolution using a flatbed scanner to maintain the image’s quality when sharing online.
- Utilize photography communities and social media platforms to showcase your large format work and connect with other artists and enthusiasts.
Conclusion
The resurgence of large format film photography is a testament to the creative freedom and unparalleled image quality it offers. While the process is more involved than with digital or smaller film formats, the results are often worth the effort. By investing in the learning and practice of these loading, exposing, and developing techniques, photographers can unlock the potential of large format film and produce images that stand out for their detail, tonality, and emotional impact. I encourage all who are drawn to the craft to pick up a large format camera, load a sheet of film with intention, and begin the never-ending adventure towards mastery and creative fulfillment.